A Practical First Smart-Home Setup
Start with a small problem you actually want to solve: a hallway light that turns on when you need it, a contact sensor that shows whether a window is open, or a dashboard for a supported thermostat. A working first routine is more useful than a shopping list for the entire home.
Define what done means
Write one sentence describing the desired behavior. Include when it should not happen and how to operate the device manually. A useful first test might be: “The hallway light responds to a button, and the ordinary control remains understandable to everyone at home.” Keep security, access, heating, and life-safety functions out of an experimental first automation.
Choose the controller around your devices
Check each proposed device against the controller’s integration documentation. A shared protocol name does not guarantee that every feature is exposed. List any adapters, bridges, accounts, and internet access needed for setup and continued operation.
Home Assistant Green is a ready-to-use option with Ethernet; initial setup requires internet. Zigbee and Z-Wave require additional suitable radio hardware. Yellow should not be presented as an equivalent current-production upgrade: production ended in October 2025, although Home Assistant says software support continues.
Understand the connection path
Zigbee needs a coordinator, Z-Wave needs a compatible regional controller, and Matter over Thread needs the appropriate Matter controller and Thread border router. Wi-Fi by itself does not tell you whether a device is controlled locally or through the cloud.
Choose the few connections your first task requires. There is no need to buy infrastructure for every protocol before you have devices that use it. Check coverage at the intended position rather than assuming a claimed range applies to your walls and interference conditions.
Buy and configure one device
Keep the manual, model number, and setup details. Use supported firmware and follow the vendor’s installation requirements. For mains wiring or HVAC equipment, have an appropriately qualified installer check the arrangement.
Confirm that the device operates from the controller before adding an automation. Give it a name that matches its room and purpose. Keep a record of any external service it needs, including paid features.
Build one routine and observe it
Create the simplest trigger and action that meet your goal. Test an occasion when it should run and one when it should not. Include a manual override. If a presence sensor is involved, try different positions and an empty room as well as an occupied one; do not assume a detection claim is a guarantee.
For noncritical devices, check how the routine behaves when internet access is unavailable and after an ordinary restart. Local device control, away-from-home phone access, and notifications are separate functions. A local integration does not automatically make the whole workflow independent of external services.
Make recovery part of the setup
Follow your controller’s backup guidance and keep a usable copy outside the controller. Record which configuration or credentials a restore requires. A backup is useful only if the necessary data is present and the supported restore process is understood.
Open-source software and standard protocols can offer useful options, but neither guarantees future maintenance, compatibility, repair parts, or an unlimited operating life.
Expand when the first task is useful
Ask whether the routine saves effort and whether others can use the room comfortably. Fix unwanted activations or confusing controls before adding devices. Then choose the next task on its own merits. You do not need a completely automated house to get value from one well-chosen routine.
Sources and scope
This guide is based on the linked documentation, checked September 23, 2026. It is not an in-house product test or a prediction of service life.
Related Listings
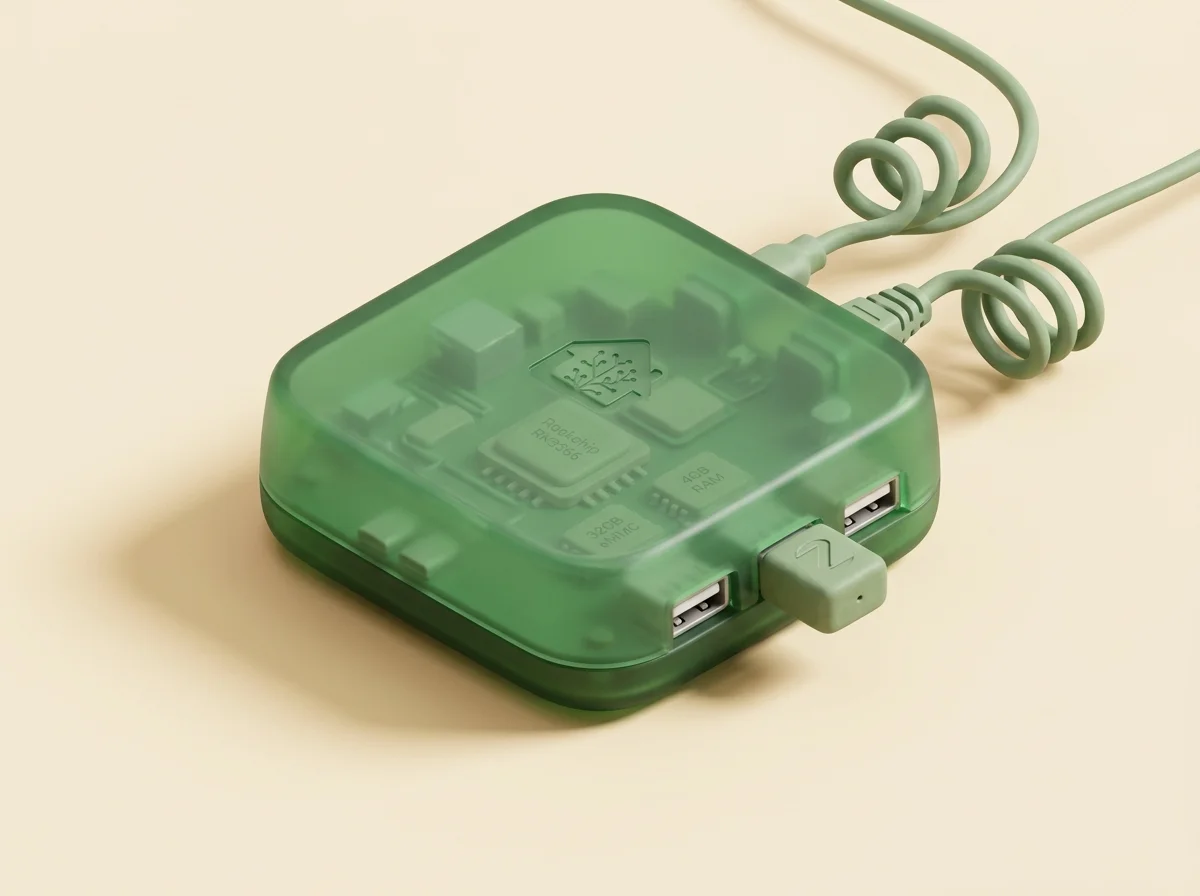
Home Assistant Green
Inovelli White Series 2-1 Smart Dimmer
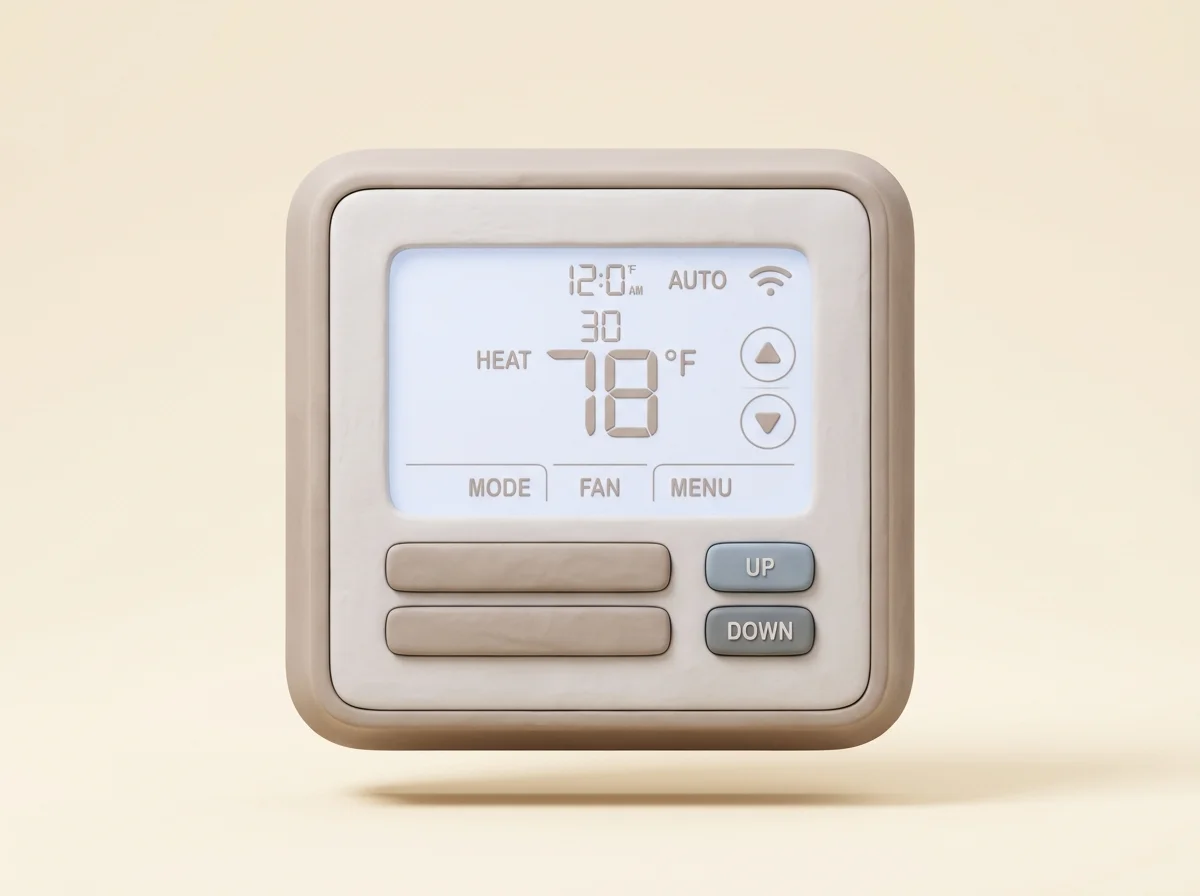
Honeywell Home T6 Pro Z-Wave Thermostat
ratgdo Garage Door Controller